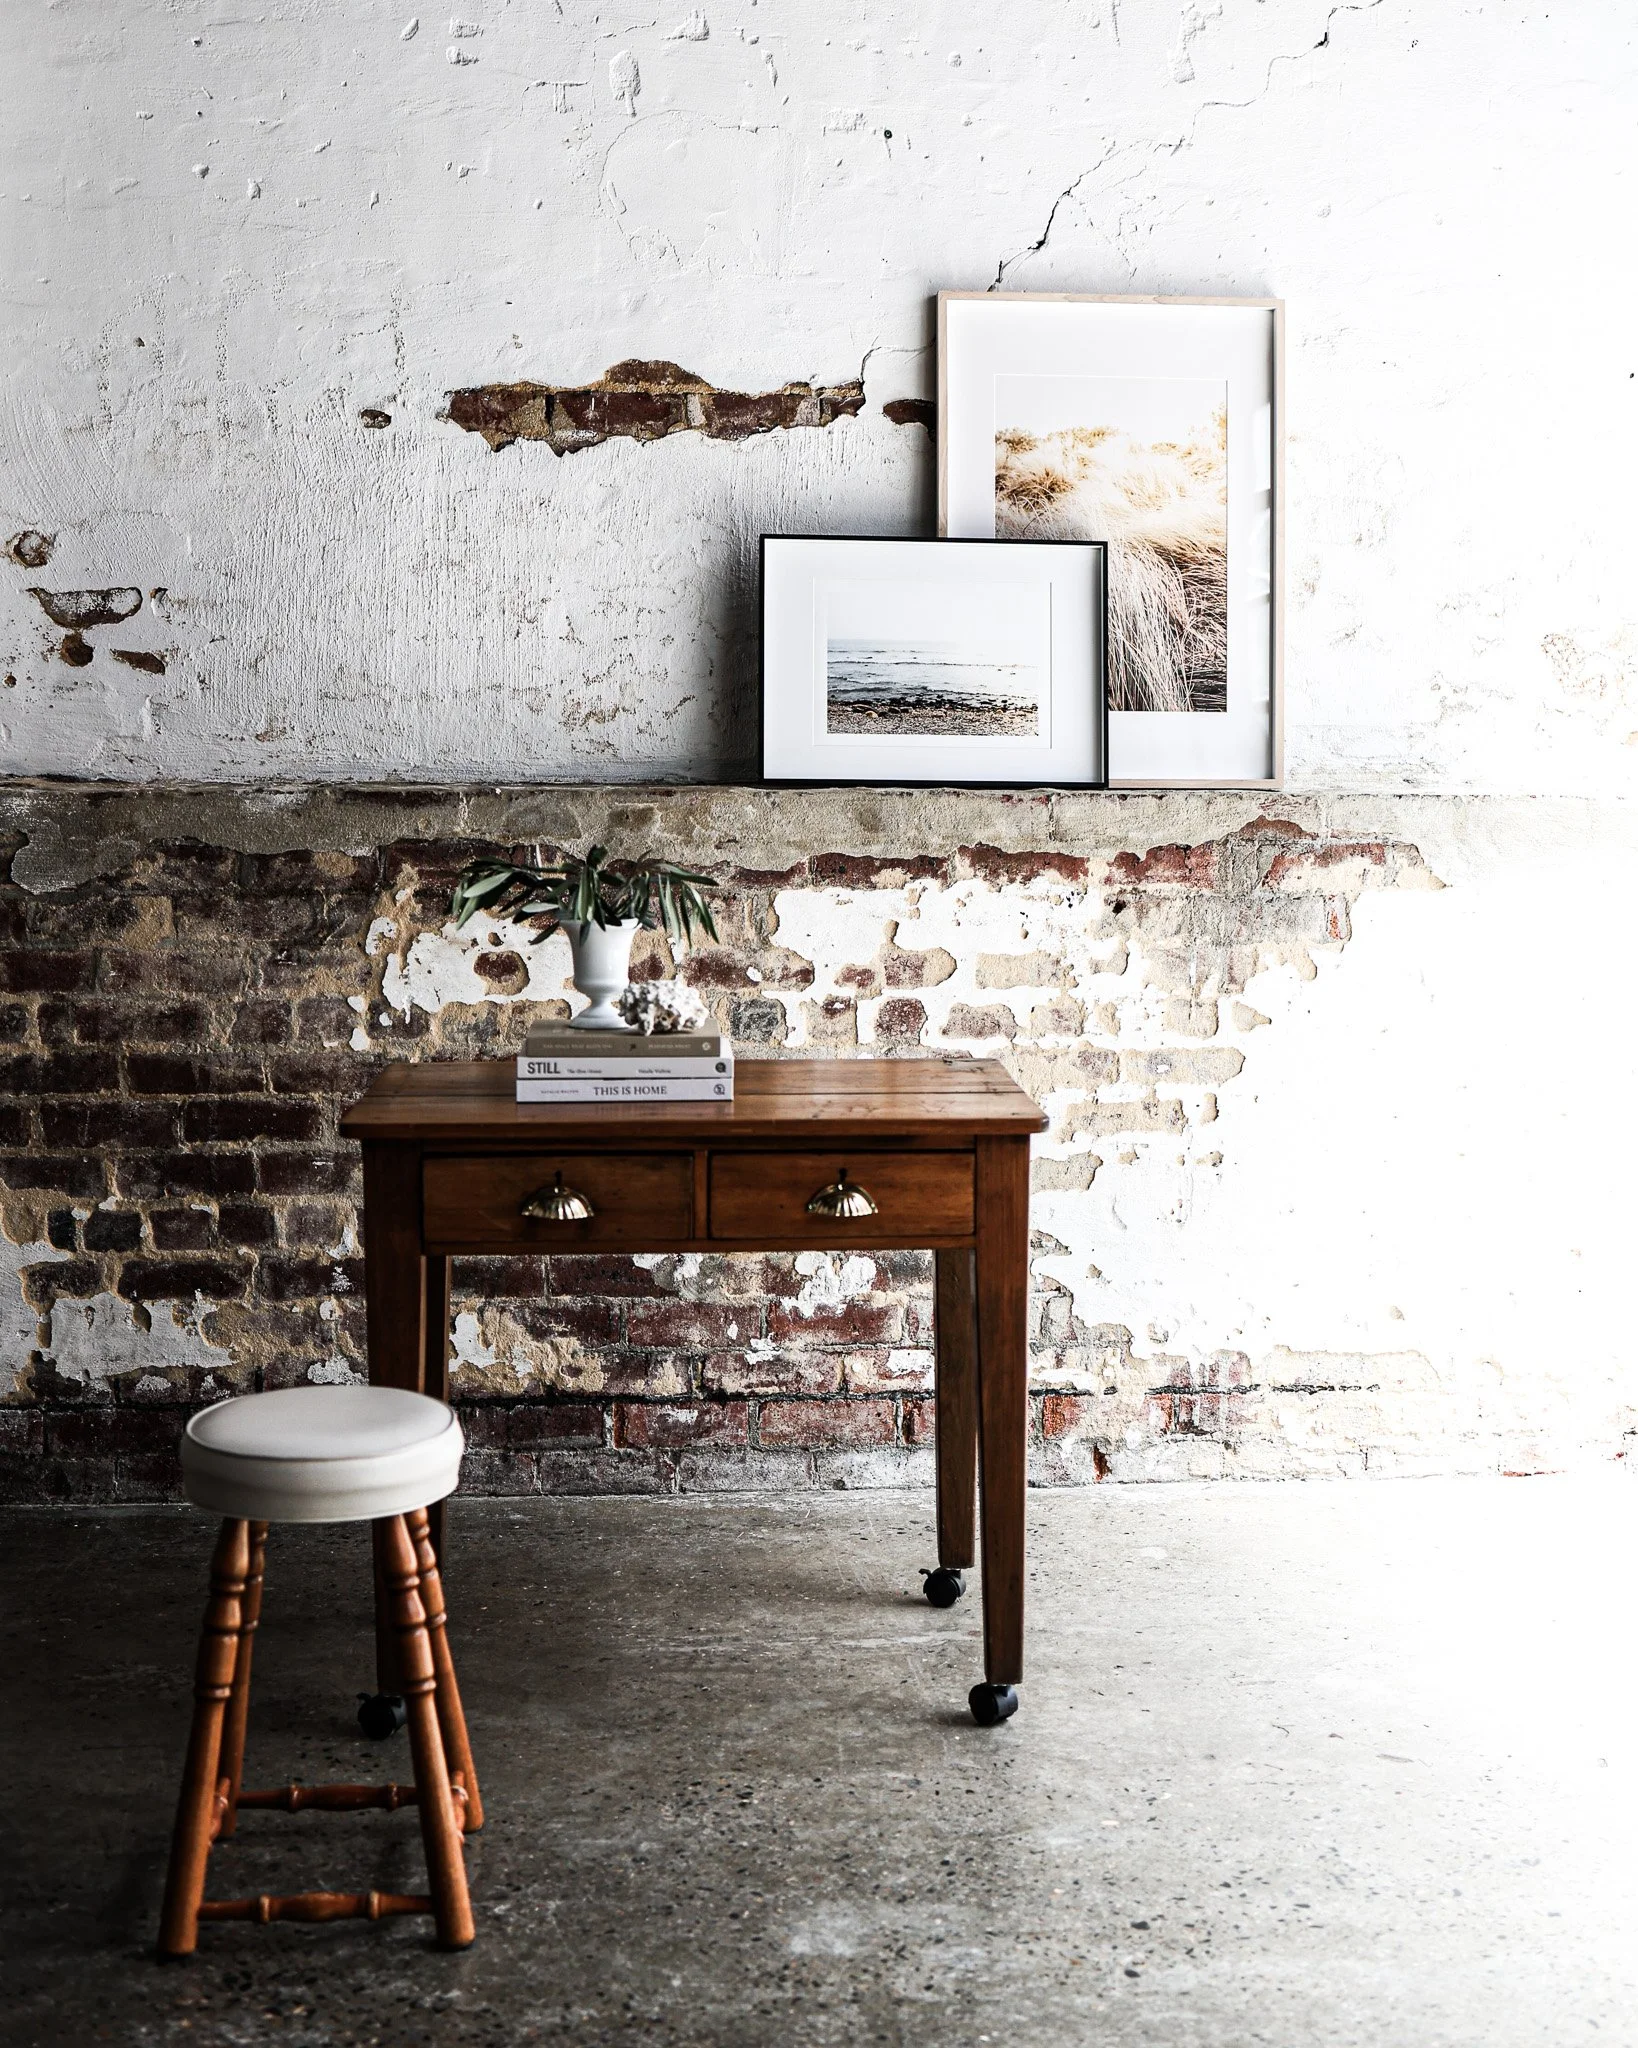
Troubleshooting Lighting Challenges: Using White Balance is Easier Than You Think
Lighting plays a huge role in interior photography, and sometimes it just doesn’t behave the way we want it to. You may find that your beautiful, bright room looks dull and blue, or that warm afternoon light turns everything an unnatural shade of yellow. The good news? These colour shifts aren’t mistakes—they’re just a matter of white balance. With a little understanding and a few simple adjustments, you can take full control of your camera’s white balance settings and capture the true beauty of your space. Whether you’re using an iPhone, DSLR, or mirrorless camera, this guide will help you solve common lighting challenges so you can achieve natural, well-balanced interior photos.
What is White Balance in Photography?
White balance is a camera setting that ensures the colours in your photos look natural and true to life. Different light sources—like sunlight, indoor lamps, or fluorescent bulbs—produce different colour temperatures. Some light is warm (yellow/orange), while others are cool (blue).
The function of white balance is to correct these colour shifts so that whites appear white, rather than tinted yellow or blue. This helps maintain accurate colours across the entire image. Correct white balance makes colours appear natural, just as they do to the eye, while incorrect white balance can make an image look too warm (yellow/orange) or too cool (blue).
How to Adjust White Balance
On an iPhone
The default iPhone camera app doesn’t allow for manual white balance adjustment, but you can use third-party apps like Lightroom Mobile:
Open Lightroom Mobile and switch to Camera mode. Switch from ‘Auto’ to ‘Professional’
Tap WB (White Balance) and choose one of the settings represented by the various icons:
Auto (AWB): The app determines the best setting.
Daylight, Cloudy, Tungsten, Fluorescent: Select to match the lighting in your environment.
Custom (the eyedropper icon): Use the square that appears to choose a neutral background that is close to the white you would like in your image.
Capture your image with the adjusted white balance.
On a DSLR or Mirrorless Camera
I like to use the Kelvin setting and adjust it until I get the image that I like, however the white balance presets are also useful. You can find the white balance settings in your camera’s menu. Tap on white balance and then:
Using the white balance presets, choose from options like Auto, Daylight, Cloudy, or Shade, depending on your scene
OR
Manually adjust white balance with the Kelvin (K) Scale:
Lower values (2500K–4500K): Correct light that is too warm or yellow.
Mid-range values (5000K–6000K): Ideal for natural daylight.
Higher values (7000K–8000K): Warms up cool or bluish light.
White balance plays a key role in achieving natural, beautiful interior photographs. While it can also be adjusted in post-production (the editing stage), I find it a lot easier to adjust in-camera so that I can see exactly what I’m working with.
By understanding how to adjust it—whether on your iPhone or camera—you can solve common lighting issues and capture interiors exactly as you imagined. The more you practise tweaking white balance, the easier it becomes to get the shot that captures your styling and design work in just the way you want.
Got any more lighting questions? DM me on instagram @by_caroline.m or email me at hello@carolinemoseley.com


