Using your Smartphone Camera: 7 essentials for interior photography
Whether you’re an interior stylist, designer, airbnb host or small business owner, capturing the beauty and essence of your space can be crucial for showcasing your work and attracting clients.

Professional cameras can produce high-quality images; however your smartphone camera can also be a surprisingly powerful tool for interior photography. Here are 7 essentials to help you use your smartphone camera effectively and elevate your interior shots.
1.Clean your lens
Before you start taking photos, ensure your smartphone lens is clean. Dust, fingerprints, and smudges can significantly reduce the clarity and quality of your images. Wipe your lens with a microfibre cloth or soft, lint-free fabric to make a big difference in the sharpness and detail of your photos. Avoid using cleaning products or compressed air as these can damage the lens.
2.Maximise natural light
Natural light is your best friend when it comes to interior photography. It provides a soft, even illumination that enhances colours and textures. Open your curtains and blinds to let in as much natural light as possible and get to know the best times to shoot in your space. The morning or late afternoon can often be the best as the sunlight is soft; however each space is different. Avoid using your phone’s flash, as it can create harsh shadows, unflattering highlights and wash out the colours in your images.

3.Compose your shot using gridlines
Most smartphones have an option to display gridlines on the screen. These gridlines help you apply the rule of thirds, a fundamental principle of composition. Aligning key design features along the gridlines or at their intersections can create a more balanced and visually appealing photo. This simple step can dramatically improve the composition of your shots and make them look more professional.

4.Keep your hands steady
A steady hand is essential for clear, sharp photos. Blurry images can ruin an otherwise perfect shot. To avoid this, hold your phone with both hands and keep your elbows close to your body for added stability. If possible, rest your hands on a steady surface or invest in a small tripod or smartphone stand for even better results.
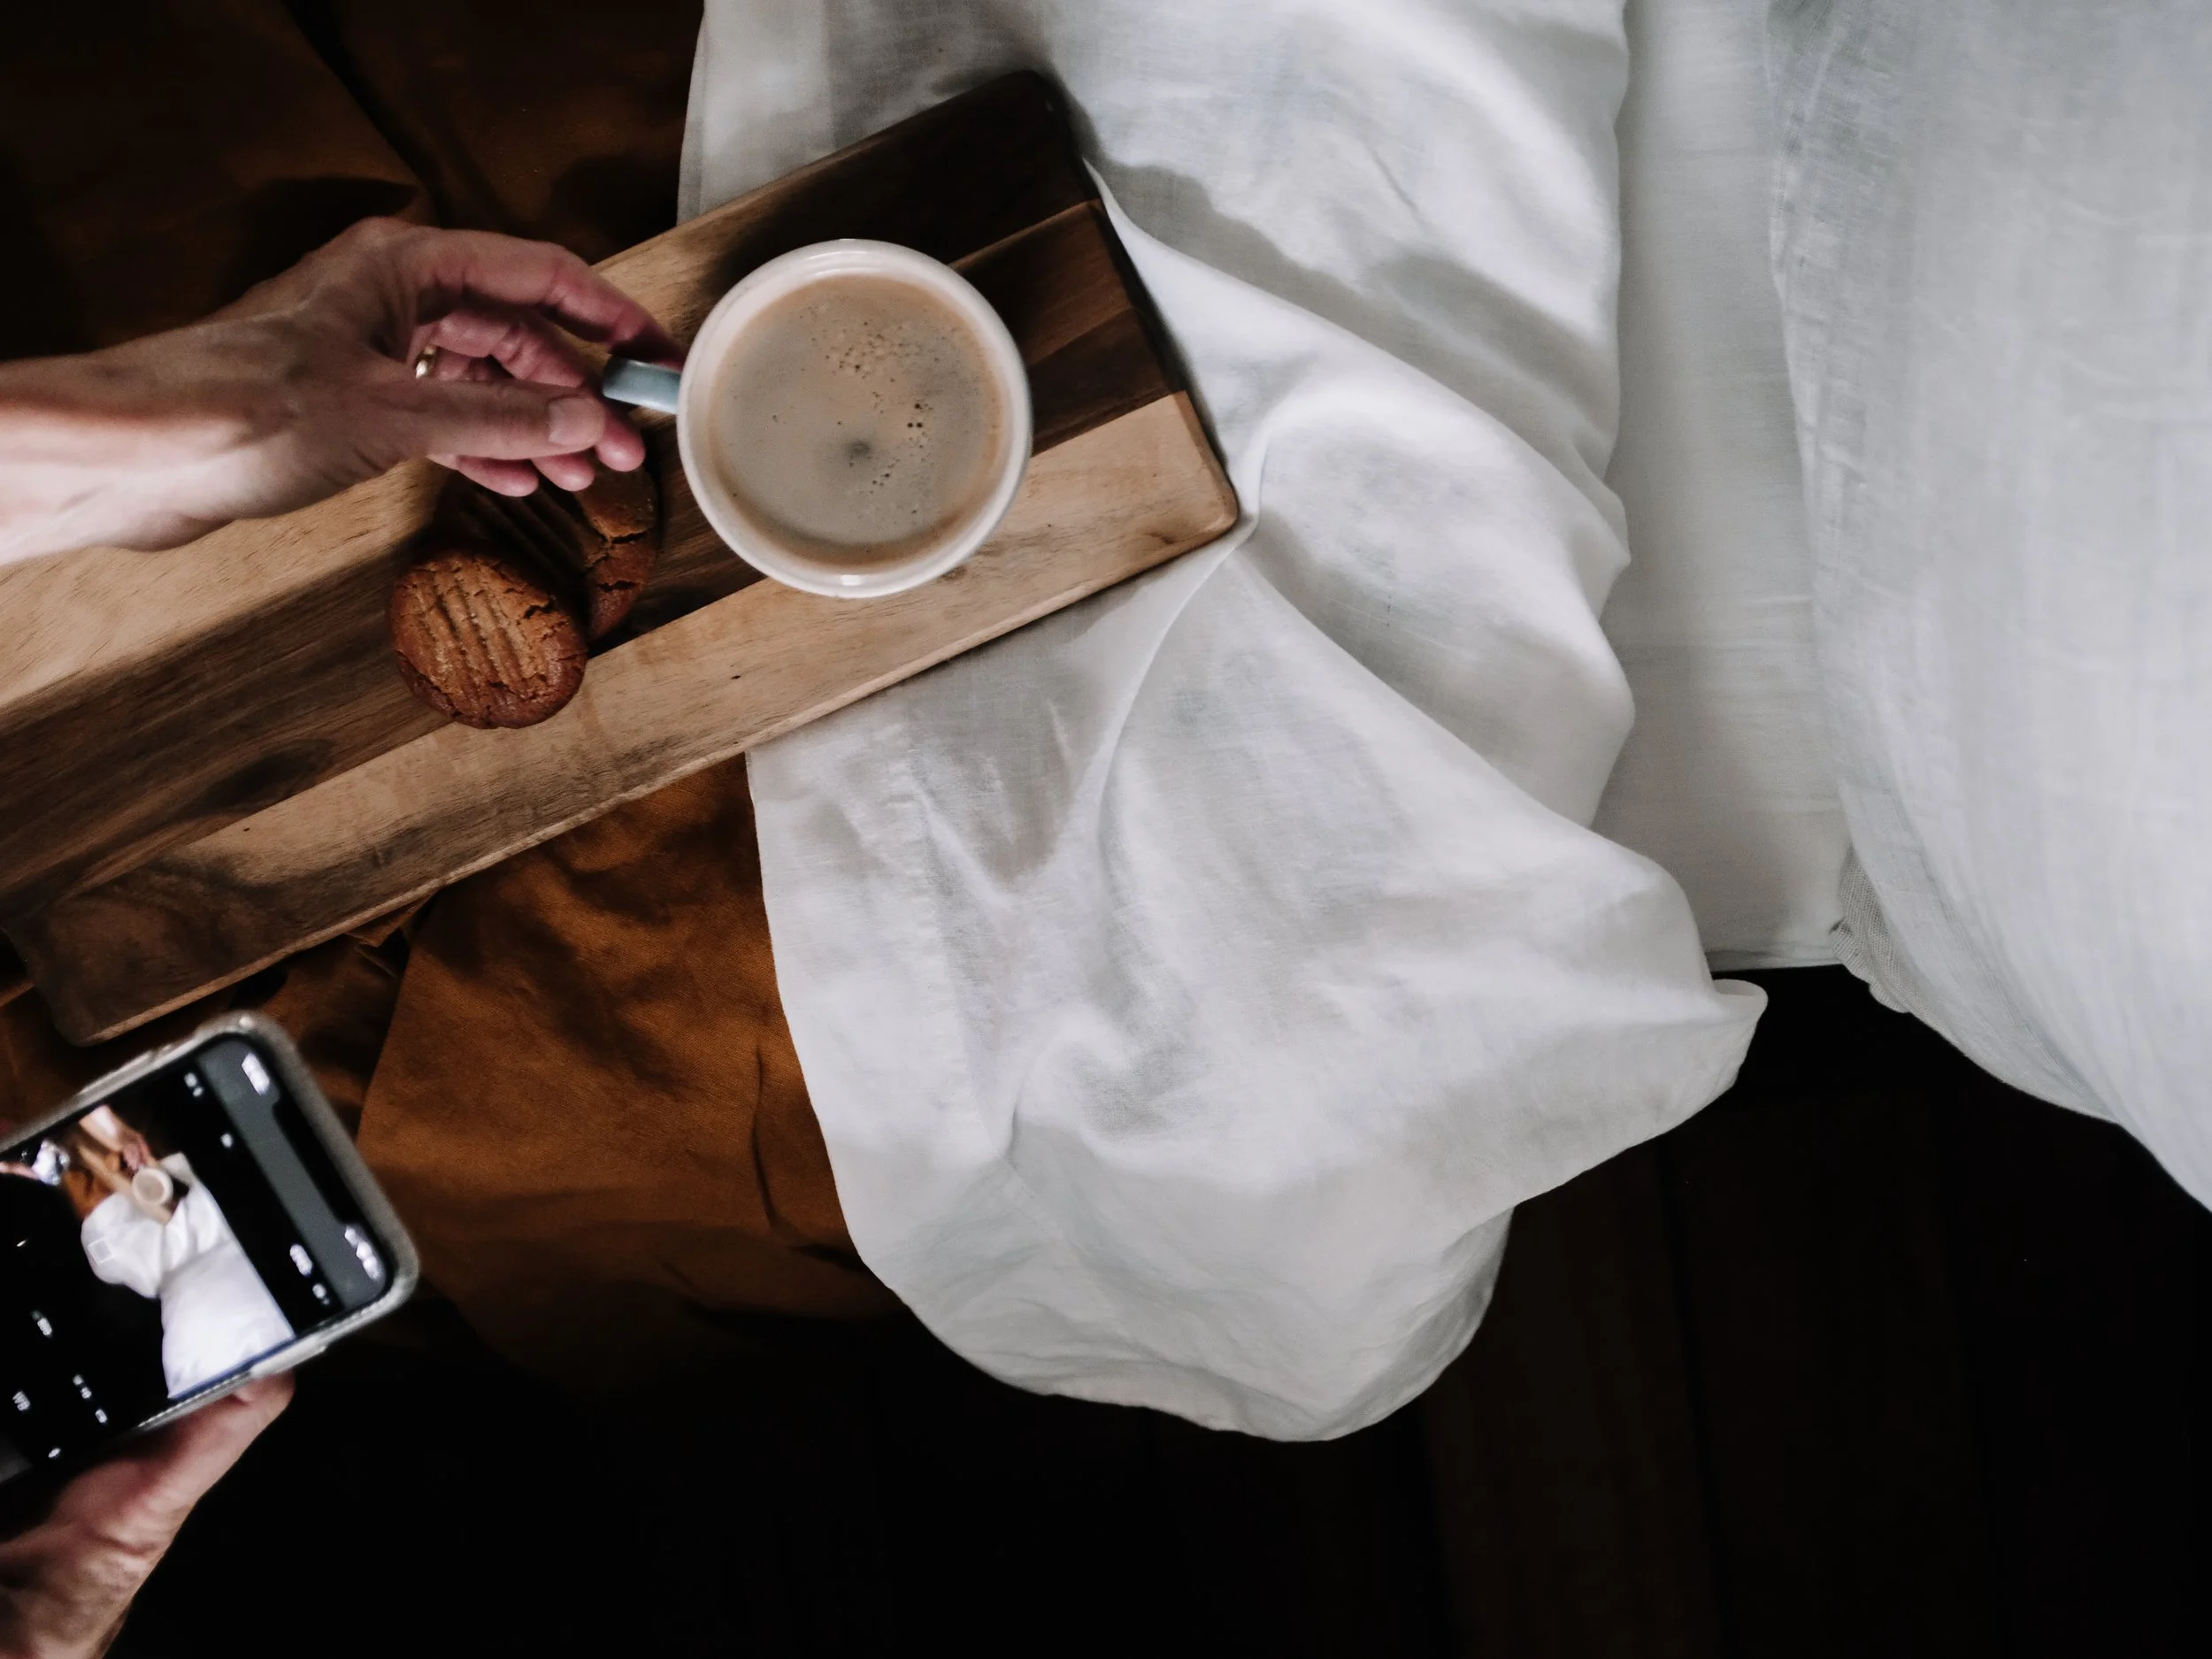
5.Play with angles and perspective
Don’t be afraid to move around and experiment with different angles. Shooting from a higher angle can provide a wider view of the room, while getting down low can highlight key design elements and create a more inviting perspective. Play around to find the most flattering views of your space and make sure to keep your phone parallel to flat surfaces such as walls or the floor. It’s surprising how easy it is to tilt your phone without realising and the end result is a distorted image.
6.Adjust exposure manually
Most smartphones allow you to adjust the exposure manually. When framing your shot, tap on the screen to choose your area of focus. A sun icon or slider will appear, allowing you to brighten or darken the image. Adjusting the exposure can help you achieve a balance of light and shadow, especially in challenging lighting conditions.

7.Edit for impact
Editing can elevate your interior shots and help you achieve the style and aesthetic you want. Most phones come with editing functions you can access easily or you can source user-friendly apps like Lightroom Mobile. Adjust brightness, contrast, and saturation to bring out the best in your photos and crop your images to highlight design details. A little editing can go a long way in making your interior shots look polished and professional.
These 7 essentials will help you create aesthetic, elevated images that promote your work and help build a thriving business - all with the camera in your pocket.